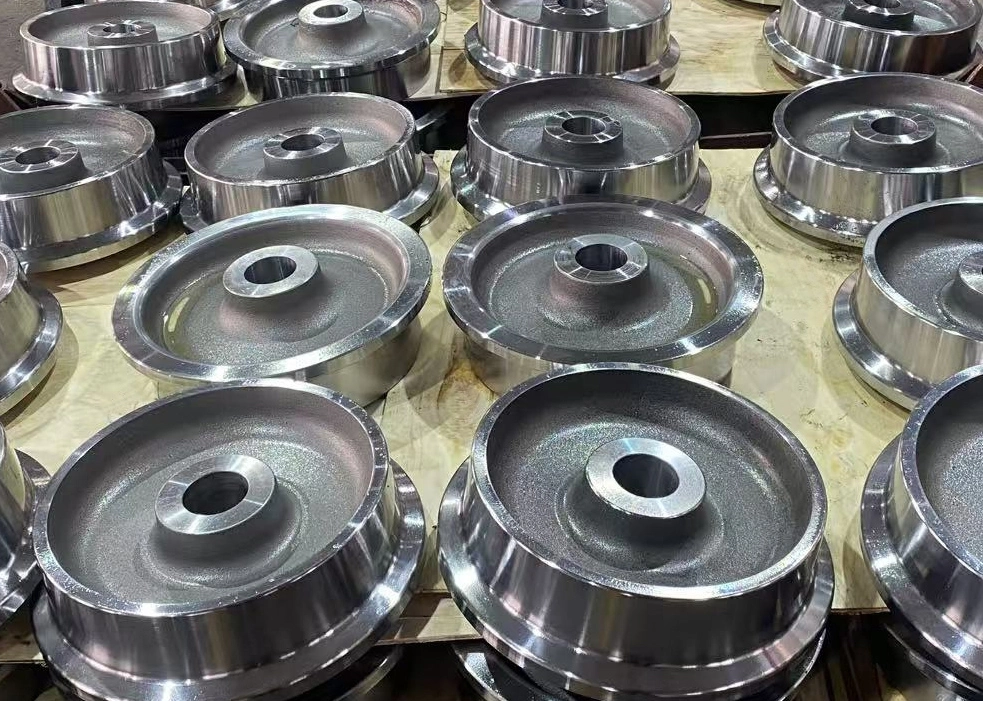
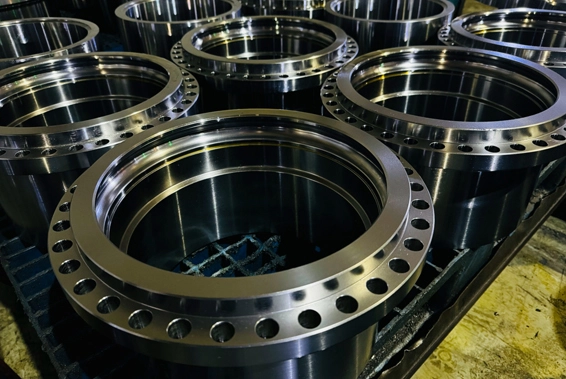
The closed die forging process involves several key steps to shape a metal into a specific form using a die. This process is used to create parts with complex shapes, high precision, and superior mechanical properties. Below are the main steps involved. At Walkson, we leverage this precise process to manufacture high-strength, durable components such as forged gears and train wheels for demanding industrial applications.
1. Preparation of the Material (Billet/Blank)
Material Selection: The first step involves selecting the appropriate material (typically a metal alloy such as steel, aluminum, or titanium) based on the desired properties of the final product.
Billet Preparation: The raw material is cut into billets or blanks of the appropriate size. These are typically cylindrical pieces that are heated before forging to make the material more malleable.
2. Heating the Material
The billets are heated in a furnace to a temperature where the metal becomes plastic enough to be shaped. The heating temperature depends on the material, but it's generally between 900°C and 1300°C (1652°F to 2372°F).
Importance: Heating the billet helps to reduce the flow stress of the material and makes it easier to mold into the die cavity.
3. Die Design
Die Preparation: Closed die forging requires the use of two or more dies that will form the material into the desired shape. The dies are typically made from high-strength steel to withstand the high forces involved in the process.
Die Cavities: The dies are designed with cavities that correspond to the shape of the final product. Some dies may have additional features for flash (excess material) to escape and to allow proper filling of the cavity.
4. Positioning the Billet in the Die
Once heated, the billet is placed into the bottom die cavity.
The top die, which matches the shape of the part, is then positioned above the billet.
5. Forging (Deformation)
Hammer or Pressing: The top die is forced down on the billet with high pressure using either a mechanical hammer or hydraulic press. This force deforms the billet to fill the die cavity.
In hammer forging, a large hammer strikes the material to shape it.
In press forging, a slower, continuous force is applied to shape the material.
The billet is compressed, and the metal flows to take the shape of the die.
Upset Forging: The material may be upset (compressed in height) to increase its diameter and fill the die completely.
6. Ejection and Cooling
After the material has been sufficiently shaped, the dies are opened, and the forged part is removed. Flash or excess material is often trimmed away during or after this step.
The part is then allowed to cool, either naturally or in a controlled cooling environment, to harden.
7. Trimming and Finishing
After cooling, any excess material (flash) around the part is trimmed off. This can be done using mechanical trimming machines or by hand.
The part may undergo additional processes such as machining, grinding, or polishing to achieve the final tolerances and surface finish.
8. Inspection and Quality Control
The forged part is carefully inspected to ensure it meets the required specifications for dimensions, material properties, and surface finish.
Non-destructive testing (NDT), such as ultrasonic testing or X-ray inspection, might be employed to detect internal defects.
9. Heat Treatment (if needed)
Depending on the material and desired properties, the part may undergo heat treatment processes like quenching, tempering, or annealing to enhance its mechanical properties such as strength, hardness, or ductility.
10. Final Inspection and Packaging
The part is subjected to final inspection for dimensional accuracy, material properties, and surface quality.
Once approved, the parts are cleaned, packaged, and shipped to customers or sent for further assembly or application.
 English
  Deutsch
  français
  русский
  فارسی
فارسی  العربية
  Español
  日本語
日本語  한국어
한국어  italiano
  português
  dansk
dansk  Suomi
Suomi 


